Handling Cash in your Business. Part One: At the POS
This is the first article in our three-part series 'Handling Cash in your Business', focusing on best practices at the Point of Sale (POS).
Incorrect handling of cash can cause all sorts of issues in a retail business, everything from increased security risks to increased time chasing up discrepancies in your Shift Reconciliation. Having effective procedures in place for handling cash can reduce these risks and the associated time spent chasing up any issues.
Let's start with some quick tips:
- Always try minimise the cash kept in your till
- Bank regularly to reduce the amount of cash kept on the premises
- Invest in a Safe for safe storage of cash on the premises
- Cash should always be counted in view of a camera and out of the view of customers
- Restrict access to cash where you can, ie a dead drop safe for the Safe Drops to be inserted into
Below is a summary of the recommendations for correct cash handling procedures at the POS, you can read on below for more detail about each item.
- Have a second till drawer and float for each Point of Sale and complete a Quick Swap End of Shift
- Have a set Float amount
- Perform regular Safe Drops and store them in a Safe
- Set up your High Float Warning and High Float Halt on your POS
- Minimise the number of people who have access to POS during each shift
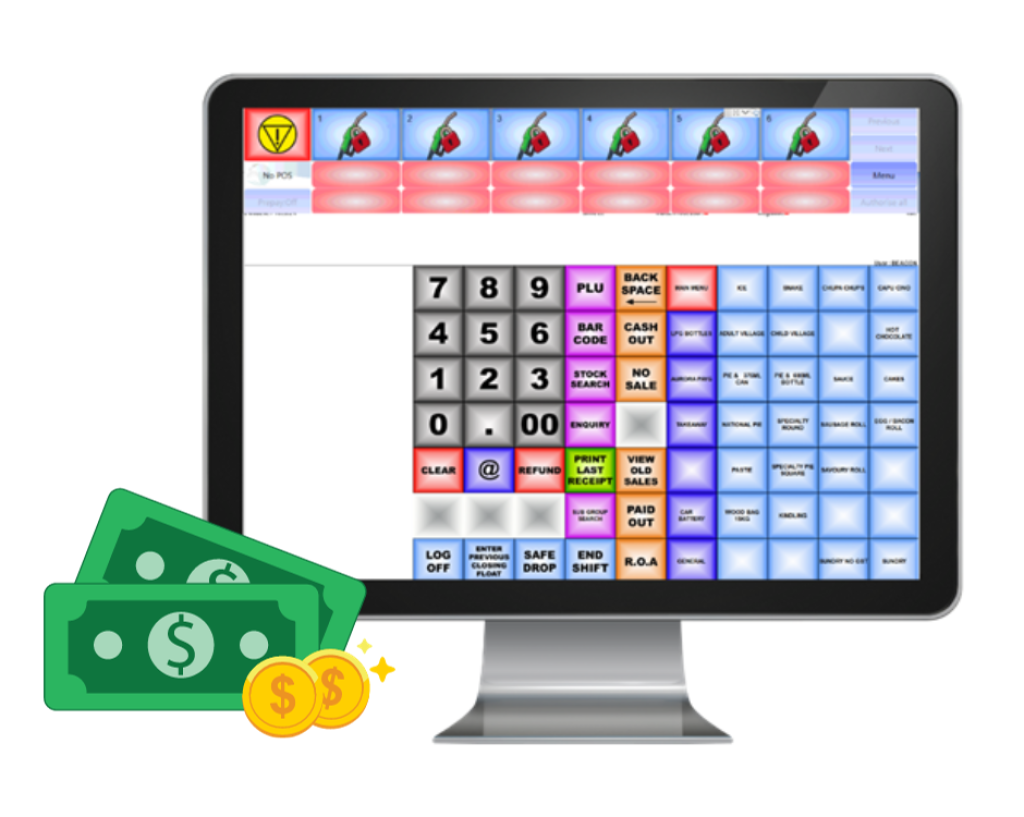
- When processing Cash Transactions on the POS enter the amount of money the customer is tendering
Further detail on each recommendation below:
- Have a second till drawer and float for each Point of Sale and complete a Quick Swap End of Shift
How does this work?
For this example Kesavan is working the morning shift, Ben is working the afternoon shift and our float value is $300.
Ben arrives for his shift, he heads straight to the office (or any other secure location that is out of customer view and has cameras) to check that his float adds up to $300. Once he confirms that his float is exactly $300 he heads out to the POS where Kesavan is working.
Kesavan clicks 'End Shift' on the POS and proceeds through the prompts without entering his closing shift value, the cash drawer opens and Kesavan removes his till drawer.
Ben puts his till into the cash drawer, logs in and enters his opening float of $300.
Kesavan takes his till out to the office (or any secure location that is out of customer view and has cameras) and counts the total amount of money in his till.
Kesavan then heads to the POS and hits 'Enter Previous Closing Float' and then enters the total amount of money in his till, the POS will print out a 'Final Safe Drop' ticket that tells him exactly how much money to take out of his till drawer to leave a perfect $300 float.
Kesavan will take this amount of money from the till and do a Safe Drop including this amount and the Final Safe Drop ticket as his final drop.
Kesavan is left with a $300 float for the next employee.
Why does this help with Cash management?
Having a second till drawer and float for each POS allows your staff to do what is called a 'Quick Swap End of Shift'. This gives your team more time to count their float at the start of their shift and till at the end of their shift and also allows them to do this count in a safe environment away from the customer eye.
Performing a Quick Swap also has the advantage of minimal interruption to your customers, it can be performed in between two customers and reduces down time for counting.
Required setup
In order to set this up you will need an extra Cash Drawer Insert (till) for each POS as well as the extra float amount.
There are no additional settings required in Beacon for this. - Have a set Float amount
How does this work?
Having a set float amount is simply using the exact same value float for every shift.
Why does this help with Cash management?
Having the same cash float for each shift:
- allows for easier identification of discrepancies
- simplifies the end of shift process, there is no guess work in knowing how much cash should be left for the next persons float
Required setup
There are no additional set up items for this one, Beacon assumes that you have a set float amount. All you need to do is determine your ideal float amount and start your next shift (and the following shifts) with this amount as the Float. - Perform regular Safe Drops and store them in a Safe
How does this work?
As you collect cash from sales transactions you regularly perform Safe Drops and keep them in a safe (preferably only accessible by the owner/manager)
Why does this help with Cash management?
Regular safe drops minimise the cash kept in the till, keeping this money in a Safe prevents theft of this money by staff or intruders
Required setup
The only setup required for this is having a Safe available to 'drop' your Safe Drops and also Staff education about performing Safe Drops - Set up your High Float Warning and High Float Halt on your POS
How does this work?
Beacon has the ability to pop up a High Float warning to prompt the console operator to do a safe drop when the cash in the drawer hits a predetermined value. In addition to this you can set a 'High Float Halt' value which will force the console operator to do a safe drop if they hit your predetermined unsafe value.
For example, at Beacon Camberwell we have a float value of $300.
After consultation with our team, we decided to prompt the console operator to do a safe drop when the till hits $750 and if it gets to $1,000 we would like to force a safe drop. We have included a $250 buffer as we understand it is sometimes not possible to do a safe drop straight away.
In Beacon we set up the below:
High Warning: $750
High Halt: $1,000
When the cash in the drawer gets to $750 the Console Operator will get a pop up prompting them to do a safe drop, they can either click ok if they are busy or perform a safe drop. If they just click ok Beacon will pop up the reminder every few sales so they do not forget.
If they continue to trade with no safe drop and the cash in the drawer gets to $1,000 Beacon will pop up a message advising that they MUST do a safe drop now and they will be unable to continue trading until they perform a safe drop.
Why does this help with Cash management?
Having a predetermined warning and halt value ensure that your staff are not keeping too much cash in the till drawer which is a security risk to the business.
Required setup
If you are on Beacon 3.0.1.X onwards you can adjust the POS Float Values in your Beacon Back Office via Setup > Terminals and changing these figures for each POS. However, if you are on any version prior to 3.0.1.X, we recommend sending Support an email and one of our team will be in touch to set this up with you. - Minimise the number of people who have access to POS during each shift
How does this work?
In an ideal world only one person accesses the POS during any one shift, this ensures that the single operator with access is accountable for the money in the cash drawer. In certain situations this is not possible, but you can increase accountability by enabling "Log off user when POS becomes idle". When this option is enabled the POS will 'time out' after idle time and the Log On screen will pop up on top of the POS.
Why does this help with Cash management?
Having one person per shift restricts access to individuals that could potentially mishandle or steal cash, it also increases the accountability for that team member to ensure their cash balances at the end of their shift. Having only one person touch the POS also minimises errors due to miscommunication or misunderstandings, each individual is familiar with their own transactions and what has happened during their shift.
Required setup
For one user per shift there is no setup required.
To discuss or enable "Log off user when POS becomes idle" please email our Support Team - When processing Cash Transactions on the POS enter the amount of money the customer is tendering
How does this work?
Ensure that when a customer is paying in cash your console operator either click the matching Smart Cash Tender button or enter the exact amount of cash the customer is handing over.
The Smart Cash Tender buttons will change depending on the Sales total, for example, if the sale is $12.55 the first button will be the exact amount ($12.55), the next button will be the next note higher than the sale total ($20), the next amount will be $22.55 (in the case where the customer only has a $20 note but also wants to get rid of $2.55 change in their wallet) and lastly you will have a $50 tender button as the next note available.
Why does this help with Cash management?
This helps for two reasons, firstly when the correct amount of cash is entered as the tendered amount Beacon will advise the amount of change due. This reduces the chance of human error when calculating the amount of change due.
Secondly, this records the amount tendered by the customer reducing confusion as to how much the customer handed over. For example, if you always enter the amount the customer is tendering and a customer comes back and advises that they tendered a $50 note, but only got change for a $20, you can check your Beacon record for this amount and answer with confidence.
Required setup
There is no required set up for this, all Beacon POS have Smart Cash Tender enabled.
We will continue on next month with Handling Cash in your Business, Part Two: Shift Reconciliation.
If you are happy to contribute your tips and tricks for effective cash handling at the POS, we would love to share them with our Beacon user community. Please email them through to This email address is being protected from spambots. You need JavaScript enabled to view it..

Recoup your Public Holiday Costs with Public Holiday Surcharging
Our new public holiday surcharge feature helps businesses cover increased operational costs and maximize revenue during peak periods.
Ampol DX8000 Pinpad now available with Beacon POS
Having now successfully completed the piloting phase, we're pleased to share that the rollout is set to begin.

New Quest BP EFTPOS Plus Platform now available!
BP, in partnership with Quest Payment Systems, have launched the new and improved Quest BP EFTPOS Platform.

Daysheet Dashboard now available
Providing information such as the daily Sales Data, the breakdown of Fuel and Group sales and also a sales comparison to the same day last year, the Beacon Daysheet Dashboard allows you to keep up with your site's performance from anywhere.
Come see us at the UCB conference 2024
RACV ROYAL PINES RESORT Tuesday 5th - Thursday 7th March 2024

Handling Cash in your Business. Part Three: Investigating a Cash or Media variance
This is the third and final article in our three-part series 'Handling Cash in your Business', focusing on investigating a cash or media variance.
Handling Cash in your Business. Part Two: Shift Reconciliation
This is the second article in our three-part series 'Handling Cash in your Business', focusing on best practices for your Shift Reconciliation.
Caltex Scone is now live and trading!
We are thrilled to celebrate this milestone with one of our longest-standing partners, Pegasus Petroleum.